Showing posts with label DIY. Show all posts

June 27, 2013

MicroAge Breakfast- 50's Diner

Last week I posted about the social committee breakfast I helped plan at my work. Well it was a complete success and we got a lot of compliments on the event. As I mentioned before this is our third event with all these member on the committee; and to have 3 events with only a couple of negative comments (because you really can't please everyone) is a big deal. So as you can guess, every member of the social committee is really happy. In the past the social committee has done BBQ's and bagel breakfasts but this was the first time where we had a breakfast with waffles, pancakes, and french toast.

MicroAge Social Committee
Katerina, Bianca, Me, and Angela

When we were coming up with ideas for the event one member (Angela) mentioned she has a brother who owns a restaurant called the Sunset Grill. From there we decided to go the breakfast route, and then I suggested 50's Diner as a theme. Well once a theme is introduced Kat and I pretty much go crazy. Both of us love 'themes' and are both pretty nuts for 1950's anything.

MicroAge Partners in Crime

As with any event, whether its one you're planning with your own budget or with a predetermined budget, you're going to run into some restrictions. When it comes to food events and our work we all know that the food has to be our main priority, so our restrictions for the most part with this event came with decorations. Some things we brought from home and used as decorations and other things we purchased to add to the overall atmosphere.


In order to keep the lunch room from getting cramped and to avoid huge lineups we decided to give each department a time slot for the event. We gave the departments twenty minute intervals to get the meals, converse and then leave before the next department came in. We grouped some departments together in order to get everyone through in 2 hours.


We also try to bring in some homemade items to our events but with this being a breakfast we couldn't really do that. However Kat did find this picture on Pinterest and wanted to recreate it herself. She made them using pretzels (for the bacon) melted white chocolate (for the eggs) and a M&M (for the yellow yolk).


 I unfortunately forgot to take a picture of the ones she made, but you can see them a little in this picture below.


All of our decoration were purchased at the Dollar Store, Shoppers Drug Mart, Amazon, and eBay. Here is a breakdown of what we bought and where we bought it from.

Decorations:
Dollar Store: Table Cloths, Cups, Plates, Cutlery, Chalkboard Frames (tutorial here)
Shoppers Drug Mart: Baskets and Checkered Liners 
Amazon: Wall Mural (we searched under Soda Pop Decorations)
eBay: Neon Clock 

Food:
Sunset Grill: Pancakes, Waffles, French Toast
Costco: Maple Syrup, Milk
Metro Grocery Store: Maple Syrup, Coffee Cake, Chocolate Cake, Juice, Fruit Trays
Bulk Barn: Chocolate, Pretzels, M&M's

We are now going to concentrate on the Holiday Party as that does take a long time to plan and organize. I am so looking forward to that as we have also chosen a theme, and its one that I've always wanted to do, but that won't be revealed for a while yet.

 photo Signature_zpsd4e9c8bf.png

May 23, 2013

Chalkboard Frames Tutorials

I'm currently a member of my work's Social Committee. I love to be a member because we usually get about  two events to plan for the year. This year we have decided to host a Breakfast Event, and as soon as I heard breakfast '50's Diner' came into my head. Once I said that to the other three members the theme exploded and we decided to run with it. Especially one member who like me loves the 50's. 
I had 6 frames at home that I've been wanting to change into chalkboard frames for the Condo. I think these are great for photobooths but also to write food items on for house parties. We will be using them for the  Breakfast Event  for labeling different food items. 
 So here is a tutorial for how to make these incredibly easy decorative frames. 

 Items You Will Need:

Paint for the Frames- I had some white Valspar Paint that I used for this project that I bought at Lowes. Because the frames I had lying around were brown I decided to go with a white paint on the frame to help make the black chalkboard paint pop. I bought the frames at the dollar store months ago but you can always choose a frame that you don't have to paint.

Chalkboard Paint- I went to Lowes and picked up the Rust-Oleum Chalkboard Paint. They also have it in a Spray Can form which
is great if you're only using this for small projects. I bought the 1/4 can because there are a few projects I want to use this for.

Frames- As I mentioned above I picked these up at the dollar store. I got about 6 of them.

Paintbrushes- I got mine at Michael's, but you can also get these at the dollar store.


Step One:
Take all your frames apart and clean them up. I always like to give everything a quick wipe down so no dirt or dust gets in the paint.

Step Two:
I covered the glass of the frames in 3 layers of chalkboard paint, making sure to let each layer dry before applying the next coat.

I then covered the frames in 2 layers of the white paint, also making sure to let each layer dry.


Step Three:
And that's pretty much it. Once everything was dry I just reassembled and ta-da. All done.

Like I said a super easy DIY with lots of uses. I hope you found this useful and don't forget to check out some of my other tutorials on this blog.

 photo Signature_zpsd4e9c8bf.png

March 25, 2013

Gender Reveal Party! It's a.....

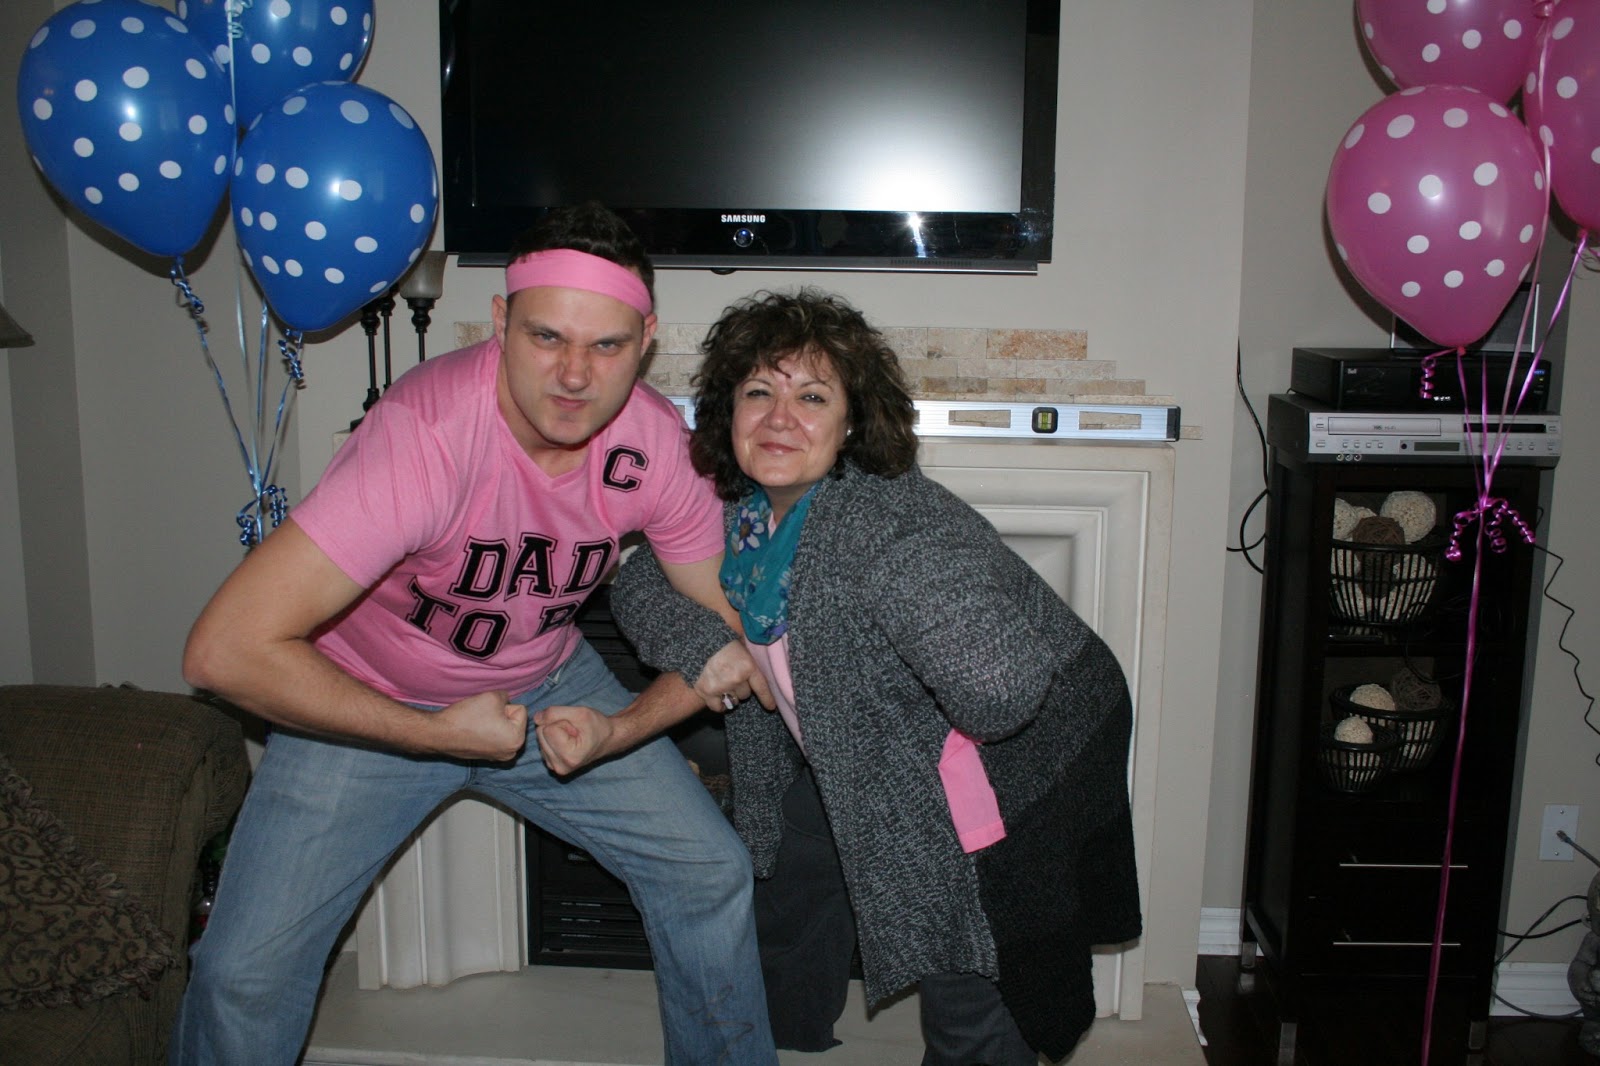
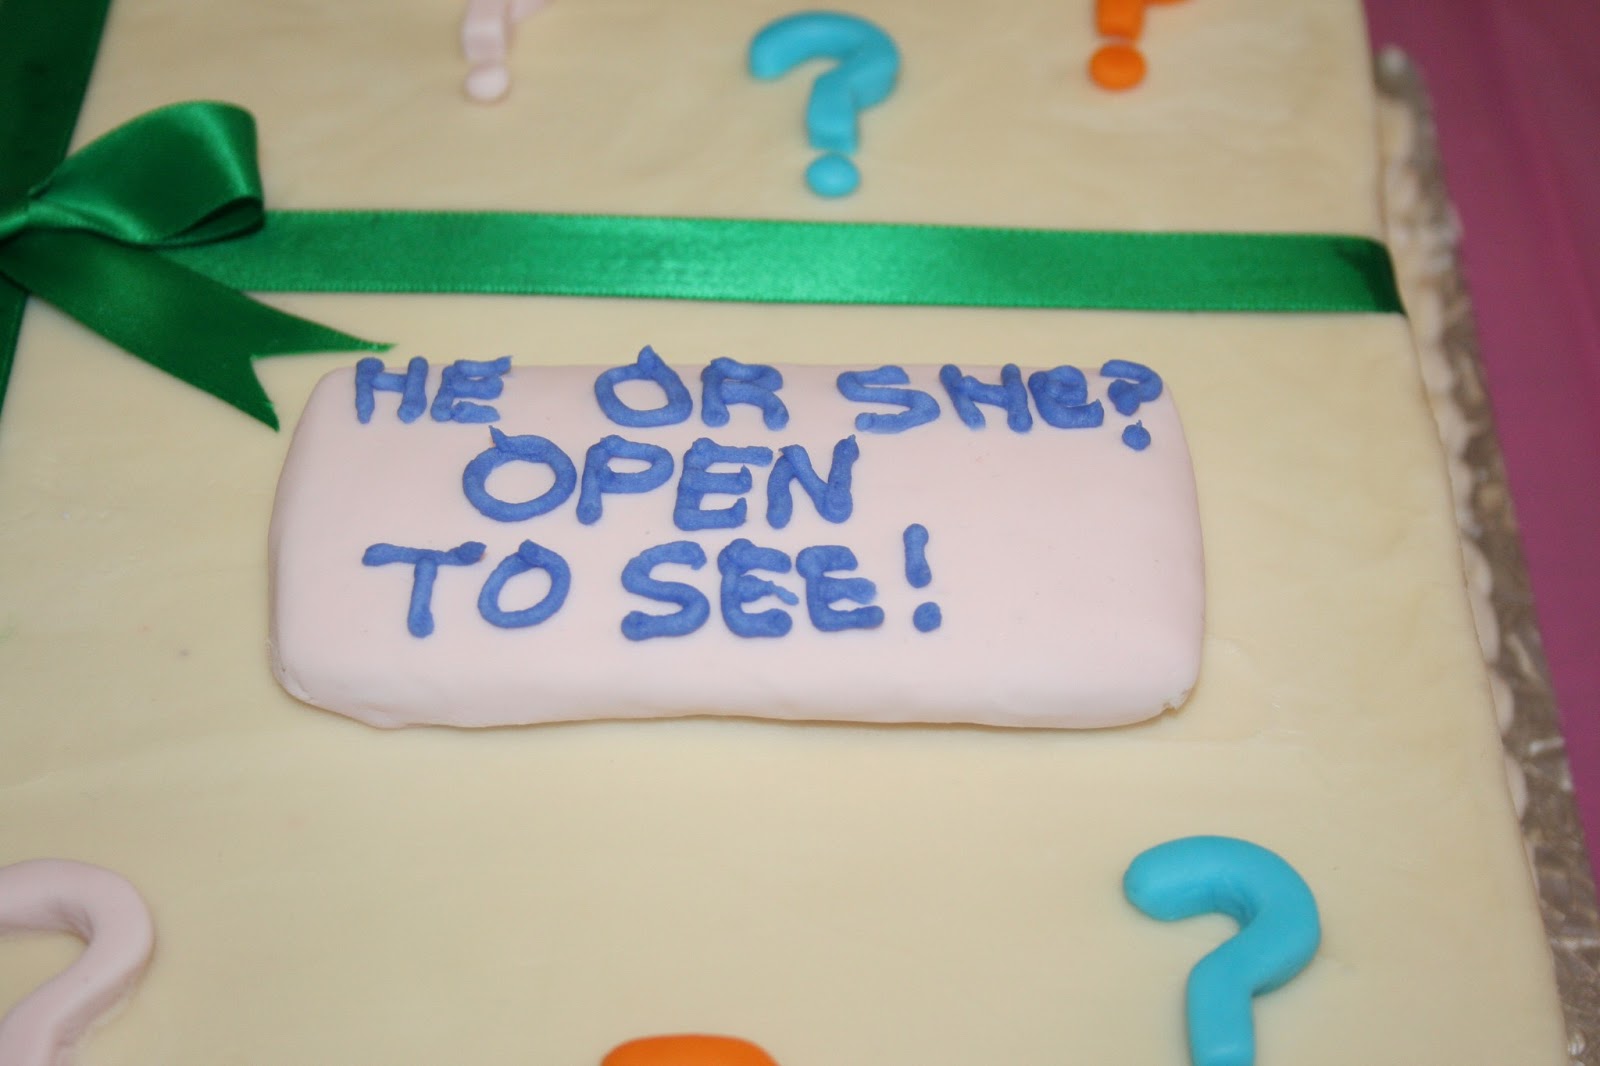
Just over a week ago my big brother Matthew and his wife Rachele had a gender reveal party. These two people LOVE to throw a party. Well I'm pretty sure my brother does and Rachele goes along for the ride. Anyway the two families got together for fun games, good food and a cake reveal. I saw this cake reveal idea on Pinterest and my BF's sister did this when she was pregnant with twins as well. Pretty cute idea actually.

So when they went for their ultrasound and were given the option of finding out what the sex of the baby is. They asked the doctor to put it in an envelope and brought it to their friend Dina. Dina co-owns (I believe) a bakery called Andee's Sweet Treats. She made a cake (blue for boy or pink for girl) depending on the gender and covered it in white fondant. They asked everyone who came to wear the colour of what they personal thought the gender was going to be. They went all out for this thing, I was pretty impressed. They had lots of games set up and everyone had a blast. But the best part was seeing their reaction when the found out what the baby was.

Anyway without further ado here are the pictures from the event.

Decorations and Food:


Family Photos:


Games:
Two teams faced off against each. The people who guessed baby boy vs people who guessed baby girl. 

Sippy Cup Relay Challenge.
First team to drink their 'juice' of choice out of a sippy cup wins.
Clearly boys team is in blue and girls team in pink. 


Boys Won this challenge. 

Old Wives Tale.
Matthew would tell you an old wives tale and the team members had to guess if the tale determined if the baby would be a boy or a girl. 


Girls I think won this round. 

Baby Rattle Battle.
400 gumballs in each 1 Litre Bottle. First person to get all their gumballs from the top to the bottle in each 'rattle' wins. I lost it during this challenge cause it was like watching a live version of the shake weight commercial. 


The Reveal..


Congratulations you two!! 
Can't wait to meet my new niece!!!!